Cheese Pizza for Beginners: Simple Steps to Success
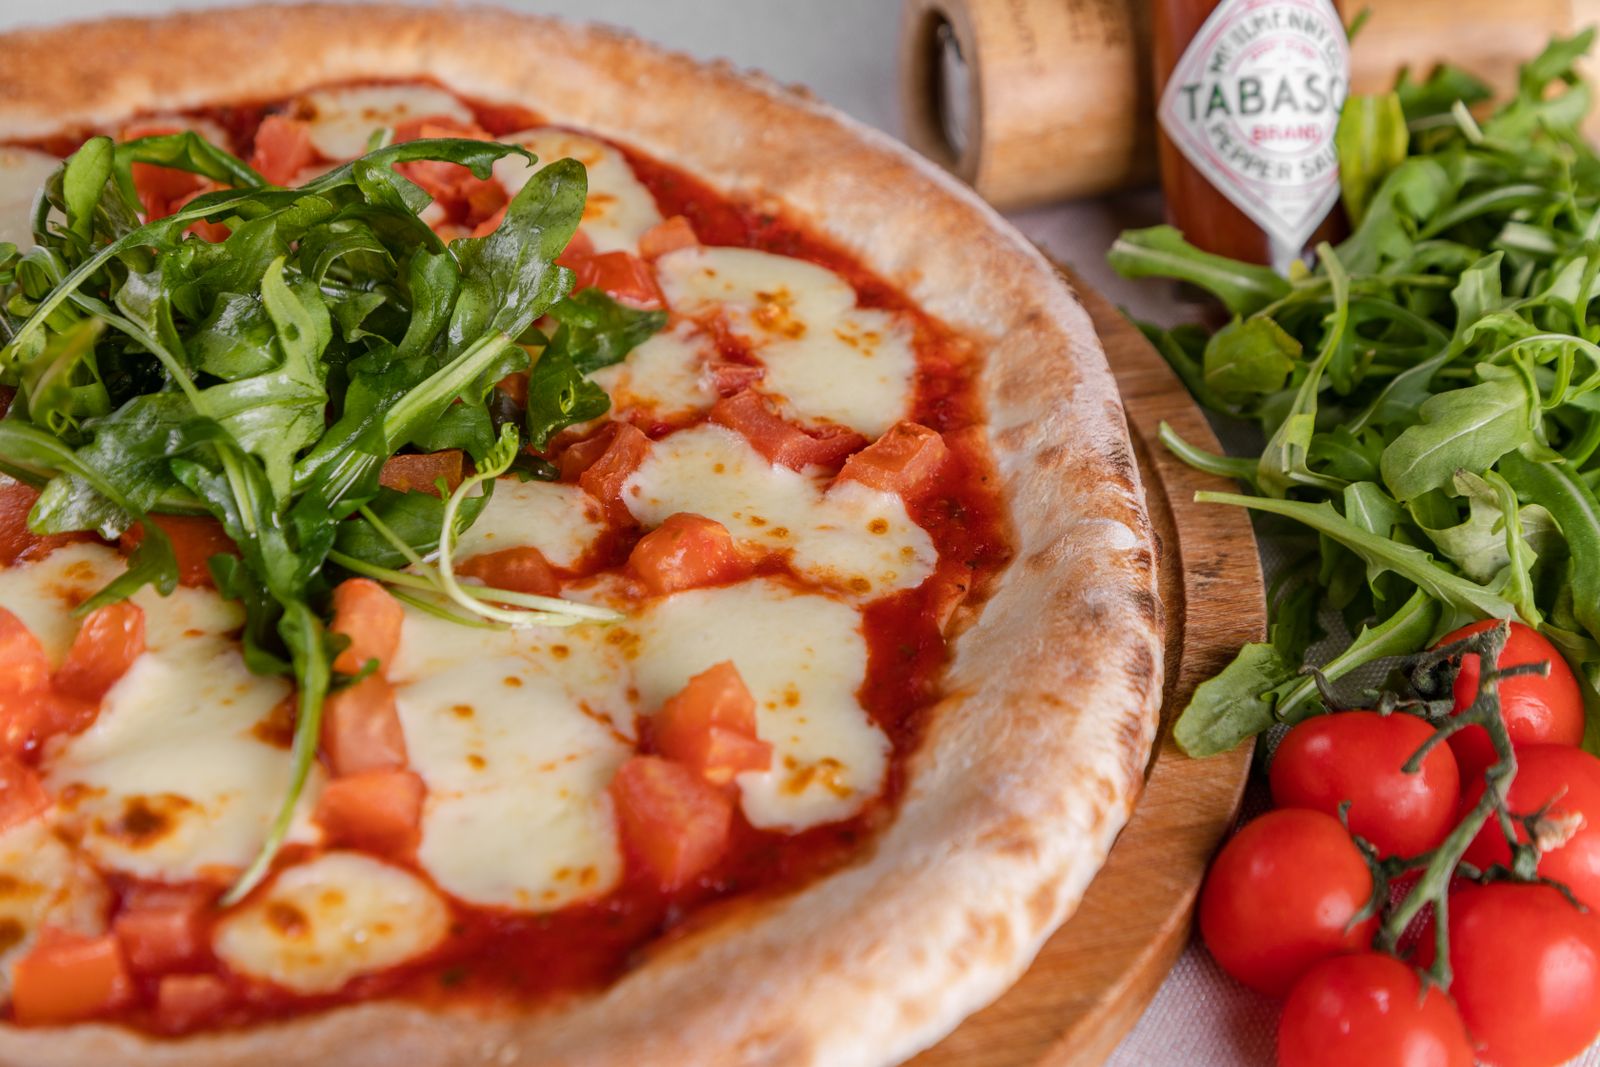
Cheese Pizza looks simple on paper. Dough, sauce, cheese, heat. That short list is exactly why it frustrates beginners. There is nowhere to hide. If the crust is pale, you notice it. If the sauce is watery, the center sags. If the cheese splits into grease, the whole pie feels clumsy no matter how good it smelled coming out of the oven.
That is also what makes it such a good place to start. When you learn to make a strong cheese pizza, you learn the habits that carry over to every other style. You begin to understand dough texture, oven behavior, browning, seasoning, and restraint. The payoff is not just a serviceable weeknight dinner. It is a repeatable method you can trust.
A beginner does not need a wood-fired oven, a fermented starter, or imported ingredients with dramatic labels. You need a few solid choices, a bit of patience, and a willingness to notice cause and effect. The first time you pull a pizza with a crisp underside, a browned rim, and bubbling cheese that stays creamy rather than oily, the process stops feeling mysterious.
Start with the right expectations
Home pizza is not pizzeria pizza, at least not at first. Most home ovens top out somewhere around 475 to 550 degrees Fahrenheit, while professional decks often run hotter and recover heat faster between pies. That matters because strong bottom heat Cheese Pizza helps set the crust before moisture from the sauce and cheese can soak into it.
Beginners often chase the wrong goal. They focus on getting every detail exactly like a restaurant pie and overlook the more useful target, which is balance. A good homemade Cheese Pizza should have a crust that browns well, a sauce that tastes fresh and seasoned, and enough cheese to stretch and blister without burying everything underneath. If you can produce that consistently, you are succeeding.
It also helps to know that pizza improves through repetition in a very direct way. A batch of cookie dough can be forgiving. Pizza dough tells on you immediately. Too wet, and shaping becomes a fight. Too cold, and it springs back. Too much topping, and the center turns heavy. Those are not failures so much as clean feedback.
The ingredients that matter most
Flour is your foundation. For beginners, bread flour is a comfortable place to start because its higher protein level helps develop strength and chew. All-purpose flour can work, especially if that is what you keep in the pantry, but the dough may feel a little softer and less structured. Neither choice is wrong. Bread flour simply gives you a bit more margin for error.
Water should be lukewarm if you are mixing with active dry yeast, not hot. Too much heat can damage the yeast, and too little slows things down enough to make a beginner doubt the whole process. Salt is not optional. It sharpens flavor and strengthens the dough. Olive oil is useful, though not always essential. In beginner doughs, a small amount makes handling easier and can help with tenderness.
Yeast is where some confusion starts. Instant yeast and active dry yeast both work well. If you use instant yeast, you can usually mix it right into the flour. Active dry yeast often benefits from dissolving in water first. The practical difference for a beginner is not dramatic. Pick one and learn how it behaves in your kitchen.
For sauce, canned whole tomatoes or crushed tomatoes are often better than many watery jarred pizza sauces. You do not need to cook the sauce first for a simple pie. In fact, uncooked tomato sauce can taste brighter on pizza if you season it properly and use it sparingly. A pinch of salt, maybe a little olive oil, and if the tomatoes need help, a tiny pinch of sugar. Garlic, oregano, or basil can be welcome, but keep the hand light. This is cheese pizza, not tomato stew on bread.
Cheese deserves more thought than most beginners give it. Low-moisture mozzarella is dependable. It melts evenly, browns well, and does not flood the crust with water. Fresh mozzarella tastes excellent but releases more moisture, so it is trickier at the start. Many experienced home cooks blend the two, using mostly low-moisture mozzarella with a few pieces of fresh for softness. A little grated Parmesan or pecorino can add savory depth, but the main event should still be mozzarella.
Dough that behaves
If you are making dough for the first time, simplicity wins. A basic formula of flour, water, salt, yeast, and a little oil is enough. The exact hydration can vary, but many beginner-friendly doughs land around 60 to 65 percent hydration. That means for every 500 grams of flour, you would use roughly 300 to 325 grams of water. At this level, the dough is soft but usually manageable.
When mixing, do not chase perfect smoothness in the first minute. Combine the ingredients until there is no dry flour left, then give the dough a few minutes to rest. This short pause makes kneading easier because the flour has time to absorb water. After that, knead until the dough becomes smoother and more elastic. In a stand mixer, this may take 6 to 8 minutes. By hand, it may take closer to 8 to 10 depending on your pace.
A common beginner mistake is adding too much flour during kneading because the dough feels tacky. Tackiness is fine. Sticky and shapeless is different, but tacky dough usually bakes into better crust than stiff dough. If your hands come away messy but the dough still holds together, you are probably still in a good range.
Once mixed, the dough needs time. For a same-day pizza, let it rise until roughly doubled, often 1 to 2 hours depending on room temperature. For better flavor, refrigerate it after an initial short rise and use it the next day. Even an overnight cold ferment improves taste and handling. The dough becomes easier to stretch, and the crust develops more complexity. Beginners who try both usually notice the difference right away.
Shaping without fighting the dough
Cold dough resists you. Very warm dough can become floppy and hard to transfer. The sweet spot is dough that has warmed enough to relax but still feels lively and structured. If it has been refrigerated, let it sit at room temperature for about 45 minutes to an hour before shaping, sometimes longer if your kitchen is cool.
Press the dough from the center outward, leaving a slightly thicker rim. That rim becomes the airy edge in the oven. If you flatten it completely, you lose that texture. Avoid a rolling pin if possible. It pushes out gas that you worked to build during fermentation and tends to create a denser crust. Your fingertips do a better job.
If the dough springs back every time you stretch it, stop and let it rest for 10 minutes. Gluten tightens when handled aggressively. A short rest often fixes the problem better than force. I have seen beginners wrestle a dough ball for five frustrating minutes when a simple pause would have solved everything.
There is no prize for making the pizza perfectly round. An oval pie with good texture beats a neat circle with a compressed crust.
The oven matters more than people think
Most home ovens need longer to preheat than their indicator lights suggest. If you are using a pizza stone or baking steel, give it at least 45 minutes, and an hour is better. That stored heat is what helps you get a firm, browned base. A steel generally transfers heat faster than a stone, which can be useful in home ovens, though either is a strong upgrade over a cold sheet pan.
Position also matters. Many ovens brown the top and bottom unevenly depending on rack placement. A middle to upper-middle rack often works well, especially if your broiler can help finish the top near the end. If your crust is browning before the cheese has fully melted, move the pizza slightly higher next time. If the top looks good but the bottom stays pale, the baking surface likely needs more preheat or a lower rack position.
If you do not own a stone or steel, use an inverted heavy sheet pan and preheat that. It is not perfect, but it is far better than building a pizza on a cold tray and hoping for the best.
Sauce and cheese, less is often more
The instinct to load the pizza is understandable, especially with cheese. Beginners often think more cheese means more indulgence and a better result. What usually happens is a greasy top and a soft center. Cheese pizza relies on proportion. You want coverage, not a blanket so thick it insulates itself from the heat.
The same is true for sauce. For a 12-inch pizza, a modest amount often does the job, enough to cover the surface in a thin layer while still letting the dough remain the star. Spread the sauce with the back of a spoon, stopping short of the rim. If you can see a little dough through parts of the sauce, that is often a good sign rather than a problem.
Shred your own low-moisture mozzarella if you can. Pre-shredded cheese is convenient, but anti-caking agents can slightly change how it melts. The difference is not catastrophic, but beginners trying to improve one variable at a time usually benefit from starting with a block and grating it fresh.
A good working habit is to think in layers of moisture. Wet dough, wet sauce, and wet cheese create problems together. If one element is especially moist, the others should be restrained.
A straightforward method that works
If you want a reliable first attempt, follow this sequence:
- Preheat your oven with a stone, steel, or heavy inverted sheet pan for at least 45 minutes.
- Stretch the dough gently on a floured surface, keeping a slightly thicker rim.
- Add a thin layer of sauce and a moderate amount of mozzarella.
- Transfer the pizza to the hot surface and bake until the crust is browned and the cheese is bubbling, usually 7 to 12 minutes depending on your oven.
- Let it sit for a minute or two before slicing, so the cheese settles and the crust stays crisper.
Those few steps sound almost too simple, but pizza quality often comes down to whether those basics are done with care.
What doneness really looks like
A cheese pizza is ready when several things happen at once. The cheese should be fully melted with some browned spots, but not a uniform sheet of pale white. The crust edge should have visible color, not just a dry look. Most important, the underside should be golden brown to deeper brown in spots, not blond and floppy.
This is the piece beginners skip. They look at the top, see bubbling cheese, and assume the pizza is done. Then they cut into it and find the slice droops from the center. A quick lift with tongs or a spatula to inspect the bottom can save a lot of disappointment. Once you get used to checking, your consistency improves fast.
Carryover cooking matters too. A pizza continues to settle for a minute after leaving the oven. If you slice it instantly, the cheese can slide and the steam trapped under the toppings can soften the crust. A short rest helps.
The most common problems and what causes them
Troubleshooting becomes easier when you connect each problem to its likely source. Here are the issues I see most often with beginner Cheese Pizza:
- Pale, soft crust usually means insufficient preheating, weak bottom heat, or too much topping.
- Dough that tears while shaping often points to underdeveloped gluten or dough that has not rested enough.
- Dough that snaps back suggests it is too cold or too tight and needs more bench time.
- Watery center often comes from excess sauce, fresh mozzarella with too much moisture, or underbaking.
- Greasy cheese usually means too much cheese, cheese with higher fat than the bake can support cleanly, or a pizza that stayed in the oven too long at too low a temperature.
One useful lesson is that not every flaw needs a dramatic fix. If your center is slightly damp, do not overhaul the dough recipe right away. First reduce the sauce by a spoonful and bake a minute longer. Small adjustments teach more than total resets.
Why the flour on your counter matters
It seems minor, but the flour or semolina used during shaping and launching affects the final pizza more than people expect. Too little, and the dough sticks during transfer. Too much, and the excess burns on the hot surface, leaving a bitter taste on the bottom.
I like a light dusting of flour on the work surface and, if using a peel, a small amount of semolina or coarse cornmeal underneath for easier movement. The key word is small. You want the pizza to slide, not skate through a layer of raw grit.
Beginners should also learn the quick shake test. After topping the pizza but before loading it into the oven, give the peel a small shake. If the pizza moves freely, you are safe. If it sticks, lift the edge and add a touch more flour underneath that area. Fixing it then is easy. Discovering it only after the front half has launched into the oven is not.
Cheese Pizza teaches restraint
Every experienced pizza maker I know has gone through a phase of overbuilding pies. More sauce, more cheese, more toppings, more everything. The pizza looked generous before baking and heavy afterward. Cheese Pizza is the style that cures that habit because excess is impossible to ignore.
Restraint does not mean stinginess. It means understanding what each ingredient is doing. The dough provides structure and chew. The sauce contributes acidity and sweetness. The cheese adds richness and browning. When one gets too loud, the whole pizza loses shape. The best beginner pies often come from using slightly less than feels instinctively safe.
That same idea applies to seasoning. A scatter of Parmesan after baking can sharpen flavor beautifully. A rainstorm of dried herbs can make the pie taste dusty. Olive oil can add fragrance, but too much before baking can weigh down the surface. Pizza rewards measured hands.
Small upgrades that make a big difference
Once you have made a few solid pizzas, a couple of upgrades can move your results forward. A baking steel is one of the most noticeable. It is not mandatory, but if you make pizza often, it helps compensate for the limits of a home oven. An infrared thermometer is another practical tool. It tells you whether your baking surface is actually hot enough, which removes some guesswork.
Ingredient upgrades help too, though usually less than technique. Better canned tomatoes can improve the sauce immediately. A mozzarella you enjoy eating out of hand will usually improve the final pizza as well. Good olive oil matters, especially if you finish the pie with a light drizzle after baking.
Still, technique beats gear more often than beginners assume. I have eaten excellent cheese pizza from an old apartment oven on a preheated sheet pan, and I have seen expensive stones turn out soggy pies because the dough was overloaded.
Timing your pizza on a real weeknight
One reason beginners give up on homemade pizza is that they imagine it has to be a long project. It can be, but it does not have to be. The easiest rhythm is to make dough ahead. Mix it the night before or even two days ahead, refrigerate it, then pull it out while the oven preheats. Sauce can be stirred together in five minutes. Cheese can be grated while the stone heats.
That means the active work on pizza night is modest. Stretch, top, bake, rest, slice. Once you stop treating dough as a same-hour ingredient, homemade Cheese Pizza becomes much more practical. This is one of the habits that separates occasional dabbling from the kind of cooking you actually repeat.
The first pizza is data, not judgment
This may be the most helpful mindset for a beginner. Your first pizza is not a final verdict on your ability. It is a data point. If the crust browned well but the top needed more color, your oven setup is close. If the flavor was good but the center stayed soft, your topping balance needs work. If shaping was difficult but the bake was strong, your fermentation timing probably needs adjustment.
Write down what you did, even briefly. Oven temperature, bake time, dough rest, cheese amount, and any issue you noticed. That small habit accelerates improvement because memory is less reliable than people think, especially after dinner is on the table and everyone is hungry.
Cheese Pizza is one of the clearest teachers in the kitchen. It rewards attention, punishes excess, and gets better quickly when you make thoughtful changes. Once you can produce a crisp, balanced pie with sauce that tastes bright and cheese that melts the way it should, you are no longer guessing. You are cooking with intent.
And that is when homemade pizza becomes fun. Not because every pie is flawless, but because you understand what happened, why it happened, and what to change next time. For a beginner, that is real success.
Brooklyn Pizza
1647 Arapahoe Ave
Boulder, CO 80302
+1 720-328-2324
FAQ About Cheese Pizza
What type of cheese is used on a cheese pizza in Boulder, CO?
The cheese varies by pizzeria. Brooklyn Pizza uses whole-milk mozzarella made in-house on its standard pies and offers a plant-based cheese option for vegan pizza. Ask the shop directly about ingredients if you have a dietary restriction.
How many slices are in a large pizza in Boulder, CO?
Slice count depends on how the shop cuts the pie. Brooklyn Pizza lists a 16-inch large pizza. If you are ordering for a group, call to confirm the number of slices or ask whether a smaller cut is available.
What is New York style pizza in Boulder, CO?
New York-style pizza usually has a thin crust and wide slices that can be folded. A classic cheese slice pairs tomato sauce with mozzarella. Brooklyn Pizza serves New York-style pizza by the slice and as whole pies.